Nun, warum habe ich mir den BananaPi Ultra zugelegt und in Vergangenheit den ein oder anderen BPi links liegen gelassen? Es ging um die Anbindung der SATA-Schnittstelle, so eine gefummelte Anbindung wie z.B. bei den Raspberry's möchte ich nicht. Die sol bitte vernünftig angebunden sein. Und das verspricht der Ultra. Also, schauen wir mal ob das auch stimmt ;)
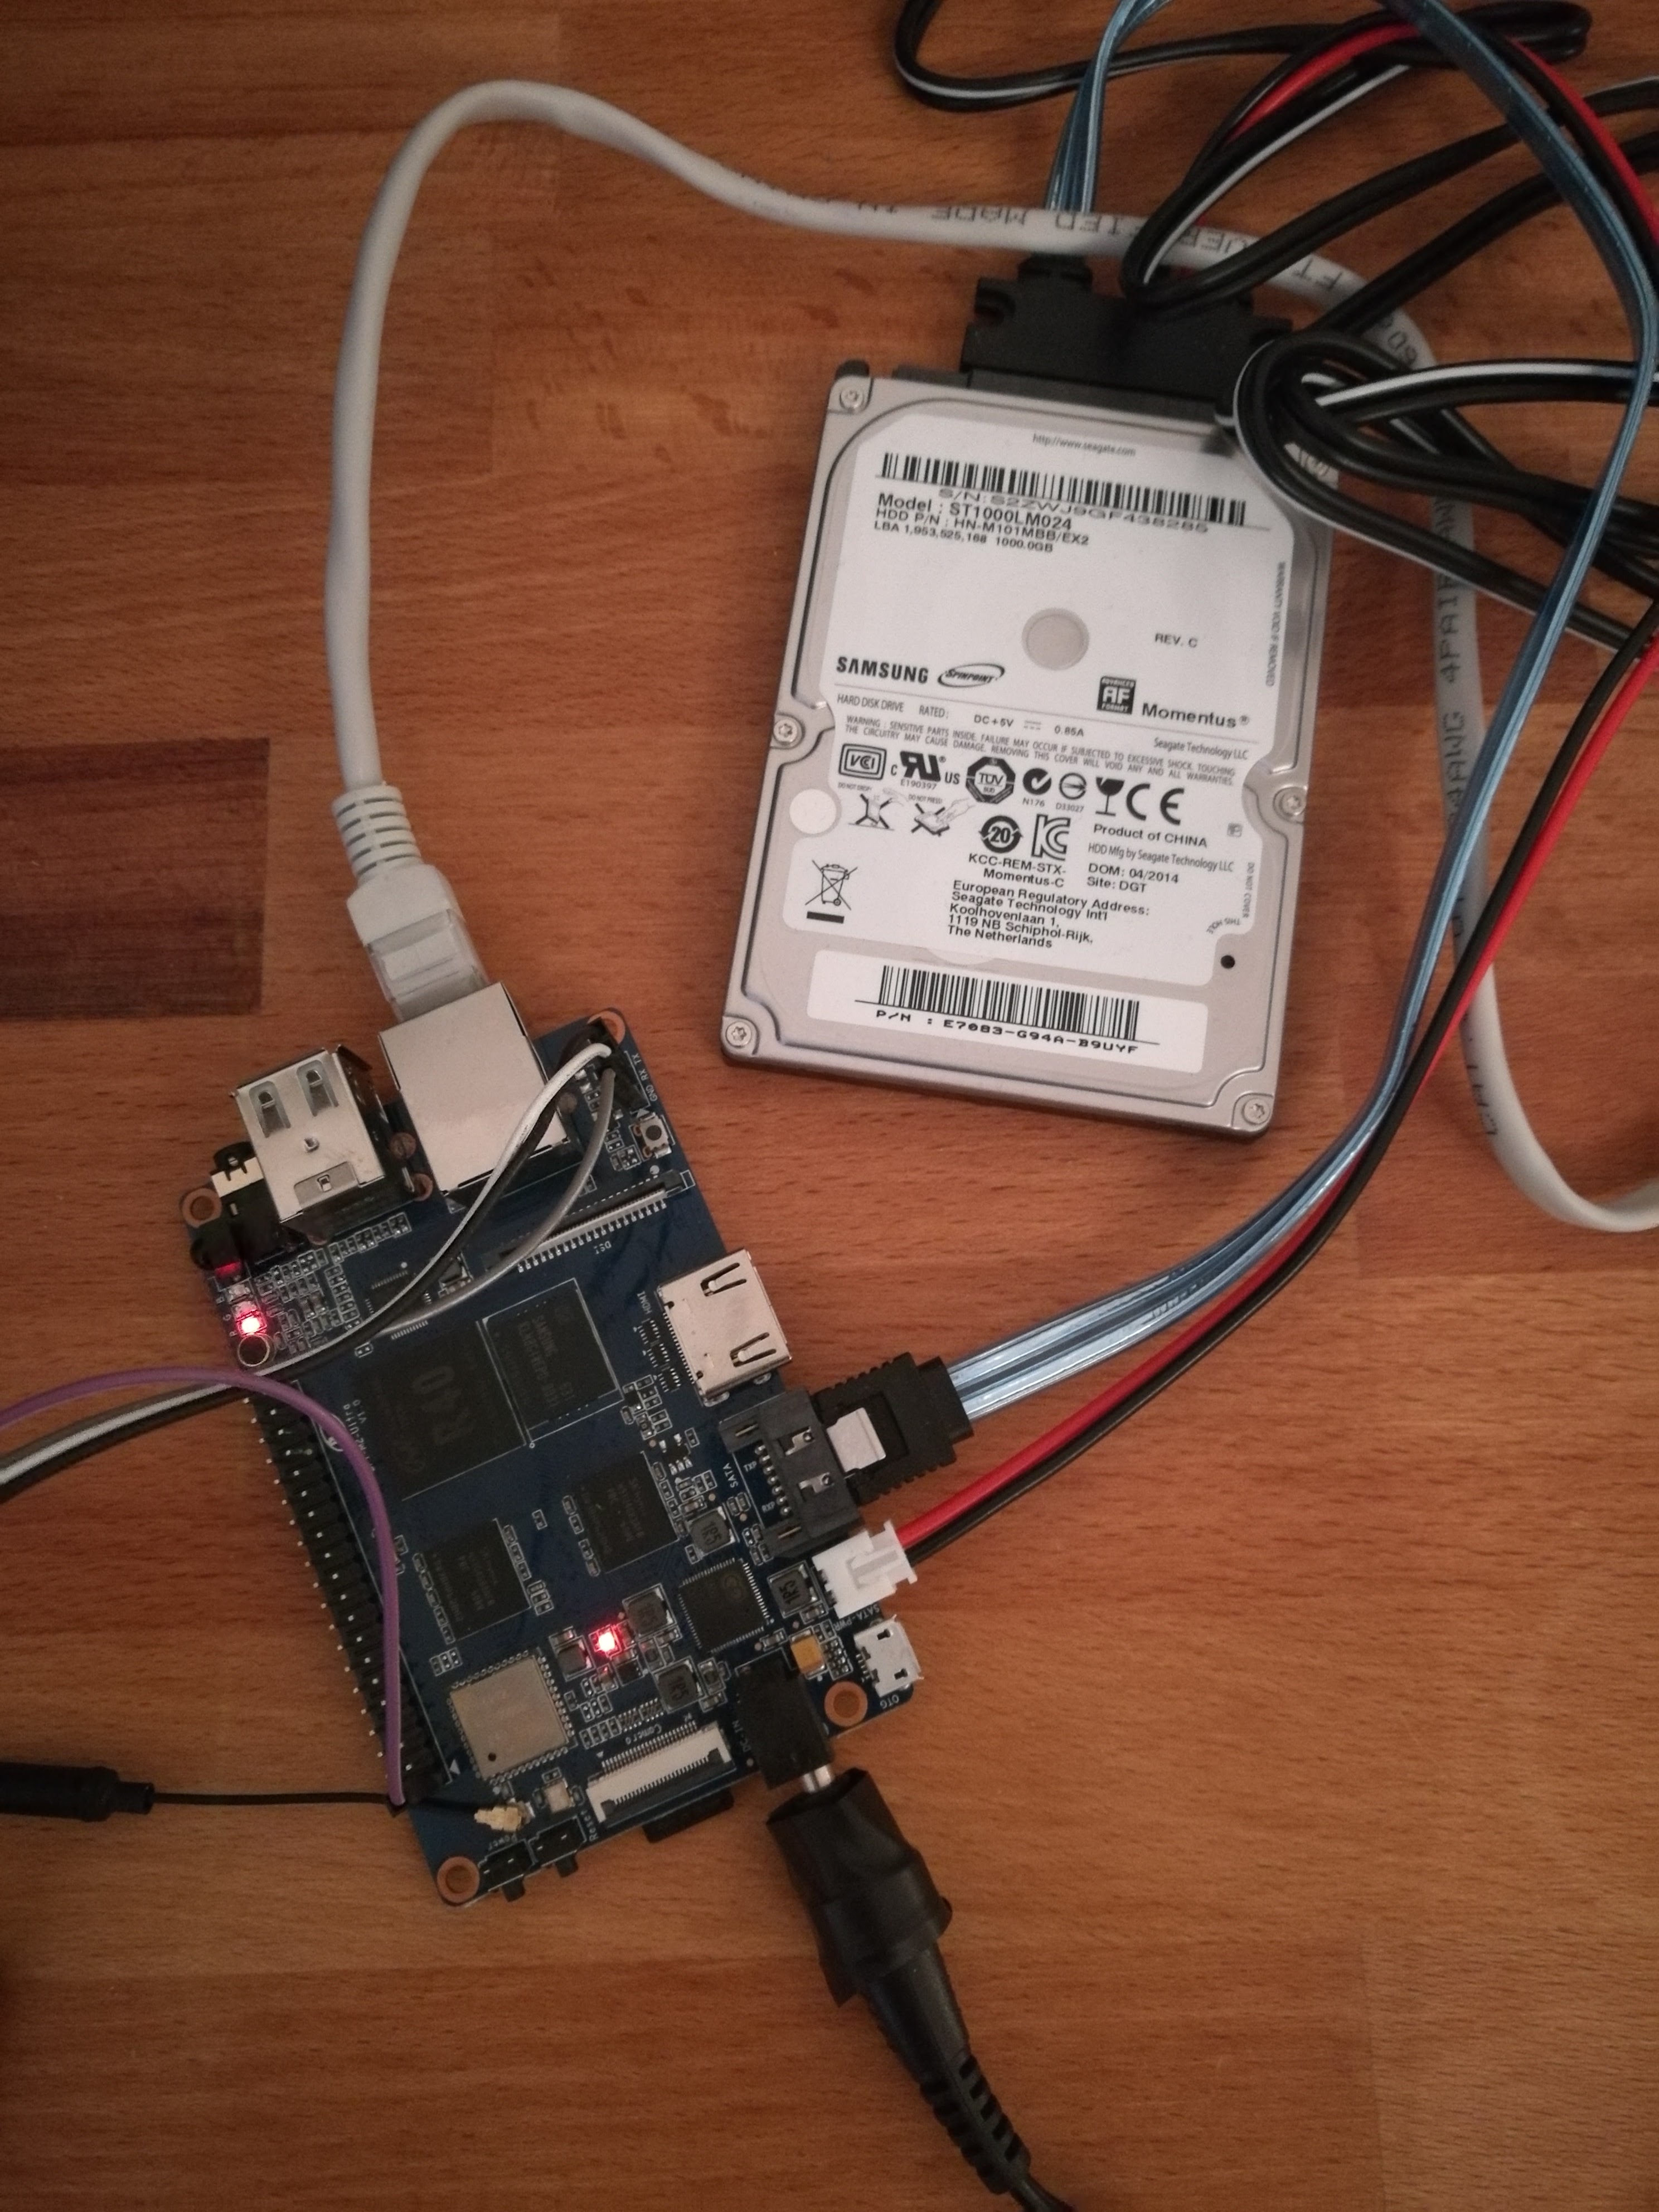
Mein Versuchsaufbau :) Eine 2,5 Zoll 1TB Samsung HDD am BananaPi M2-Ultra.
Wir schauen mal, ob sie erkannt wurde.
root@bpi-iot-ros-ai:~# fdisk -l
Disk /dev/sda: 931.5 GiB, 1000204886016 bytes, 1953525168 sectors
Units: sectors of 1 * 512 = 512 bytes
Sector size (logical/physical): 512 bytes / 4096 bytes
I/O size (minimum/optimal): 4096 bytes / 4096 bytes
Disklabel type: dos
Disk identifier: 0x0001e9dd

Device Boot Start End Sectors Size Id Type
/dev/sda1 * 2048 206847 204800 100M 7 HPFS/NTFS/exFAT
/dev/sda2 206848 976762879 976556032 465.7G 7 HPFS/NTFS/exFAT
/dev/sda3 976764926 1953523711 976758786 465.8G 5 Extended
/dev/sda5 976764928 1937422335 960657408 458.1G 83 Linux
/dev/sda6 1937424384 1953523711 16099328 7.7G 82 Linux swap / Solaris
Partition 4 does not start on physical sector boundary.

Disk /dev/mmcblk0: 14.7 GiB, 15811477504 bytes, 30881792 sectors
Units: sectors of 1 * 512 = 512 bytes
Sector size (logical/physical): 512 bytes / 512 bytes
I/O size (minimum/optimal): 512 bytes / 512 bytes
Disklabel type: dos
Disk identifier: 0x00043621

Device Boot Start End Sectors Size Id Type
/dev/mmcblk0p1 * 204800 729087 524288 256M c W95 FAT32 (LBA)
/dev/mmcblk0p2 729088 30881791 30152704 14.4G 83 Linux

Disk /dev/mmcblk1: 7.3 GiB, 7818182656 bytes, 15269888 sectors
Units: sectors of 1 * 512 = 512 bytes
Sector size (logical/physical): 512 bytes / 512 bytes
I/O size (minimum/optimal): 512 bytes / 512 bytes
Disklabel type: dos
Disk identifier: 0x00043621

Device Boot Start End Sectors Size Id Type
/dev/mmcblk1p1 * 204800 729087 524288 256M c W95 FAT32 (LBA)
/dev/mmcblk1p2 729088 7077887 6348800 3G 83 Linux

Disk /dev/mmcblk1boot1: 4 MiB, 4194304 bytes, 8192 sectors
Units: sectors of 1 * 512 = 512 bytes
Sector size (logical/physical): 512 bytes / 512 bytes
I/O size (minimum/optimal): 512 bytes / 512 bytes
Disk /dev/mmcblk1boot0: 4 MiB, 4194304 bytes, 8192 sectors
Units: sectors of 1 * 512 = 512 bytes
Sector size (logical/physical): 512 bytes / 512 bytes
I/O size (minimum/optimal): 512 bytes / 512 bytes
Hier sieht man nun die SD-Karte (Disk /dev/mmcblk0), den eMMC-Speicher (Disk /dev/mmcblk1) und die HDD (Disk /dev/sda). Auf der HDD ist eine Dual-Boot Installation LinuxMint Cinnamon 17 / Windows 7. Ihr werdet hier heute Augenzeuge, wie ich nach mittlerweilen fast drei Jahren Linux meine letzte aktive Windows-Installation lösche. Tschüss M$ :)
Hier der Teil der HDD:
Disk /dev/sda: 931.5 GiB, 1000204886016 bytes, 1953525168 sectors
Units: sectors of 1 * 512 = 512 bytes
Sector size (logical/physical): 512 bytes / 4096 bytes
I/O size (minimum/optimal): 4096 bytes / 4096 bytes
Disklabel type: dos
Disk identifier: 0x0001e9dd

Device Boot Start End Sectors Size Id Type
/dev/sda1 * 2048 206847 204800 100M 7 HPFS/NTFS/exFAT
/dev/sda2 206848 976762879 976556032 465.7G 7 HPFS/NTFS/exFAT
/dev/sda3 976764926 1953523711 976758786 465.8G 5 Extended
/dev/sda5 976764928 1937422335 960657408 458.1G 83 Linux
/dev/sda6 1937424384 1953523711 16099328 7.7G 82 Linux swap / Solaris
Partition 4 does not start on physical sector boundary.

ACHTUNG! Ab hier besteht die Gefahr von Datenverlust. Bitte vorher das Gehirn einschalten und denkt dran, ich übernehme kein Garantie für Eure Daten :)
Damit wir mit der Platte arbeiten können, müssen wir uns mal von den ganzen Partitionen verabschieden.
fdisk -l
Danach wählen wir die Platte aus, die bearbeitet werden soll.
fdisk /dev/sda
Nochmal nachschauen ob wir das Richtige ausgewählt haben. Dafür ein p eingeben.
Command (m for help): p
Disk /dev/sda: 931.5 GiB, 1000204886016 bytes, 1953525168 sectors
Units: sectors of 1 * 512 = 512 bytes
Sector size (logical/physical): 512 bytes / 4096 bytes
I/O size (minimum/optimal): 4096 bytes / 4096 bytes
Disklabel type: dos
Disk identifier: 0x0001e9dd

Device Boot Start End Sectors Size Id Type
/dev/sda1 * 2048 206847 204800 100M 7 HPFS/NTFS/exFAT
/dev/sda2 206848 976762879 976556032 465.7G 7 HPFS/NTFS/exFAT
/dev/sda3 976764926 1953523711 976758786 465.8G 5 Extended
/dev/sda5 976764928 1937422335 960657408 458.1G 83 Linux
/dev/sda6 1937424384 1953523711 16099328 7.7G 82 Linux swap / Solaris
Partition 4 does not start on physical sector boundary.
Ok, sieht gut aus. Nun alles löschen. Dann mit "d" Partition auswählen.
Command (m for help): d
Partition number (1-3,5,6, default 6):
Partitionen auswählen und so lange wiederholen bis die Platte leer ist. Tschüss M$ ;)
Command (m for help): p
Disk /dev/sda: 931.5 GiB, 1000204886016 bytes, 1953525168 sectors
Units: sectors of 1 * 512 = 512 bytes
Sector size (logical/physical): 512 bytes / 4096 bytes
I/O size (minimum/optimal): 4096 bytes / 4096 bytes
Disklabel type: dos
Disk identifier: 0x0001e9dd
Nun müssen wir noch eine Partition einrichten.
Command (m for help): n
Partition type
p primary (0 primary, 0 extended, 4 free)
e extended (container for logical partitions)
Select (default p): p
Partition number (1-4, default 1): 1
First sector (2048-1953525167, default 2048): 2048
Last sector, +sectors or +size{K,M,G,T,P} (2048-1953525167, default 1953525167): 1953525167
Created a new partition 1 of type 'Linux' and of size 931.5 GiB.
Danach mit w die Änderungen auf die HDD schreiben!
Command (m for help): w
The partition table has been altered.
Calling ioctl() to re-read partition table.
Syncing disks.
Mit fdisk nachschauen ob alles wie gewünscht aussieht.
root@bpi-iot-ros-ai:~# fdisk -l
Disk /dev/sda: 931.5 GiB, 1000204886016 bytes, 1953525168 sectors
Units: sectors of 1 * 512 = 512 bytes
Sector size (logical/physical): 512 bytes / 4096 bytes
I/O size (minimum/optimal): 4096 bytes / 4096 bytes
Disklabel type: dos
Disk identifier: 0x0001e9dd

Device Boot Start End Sectors Size Id Type
/dev/sda1 2048 1953525167 1953523120 931.5G 83 Linux
Fertig!
Nun muss eine Festplatte auch noch formatiert werden, das macht man mit mkfs.ext4 /dev/sda1
root@bpi-iot-ros-ai:~# mkfs.ext4 /dev/sda1
mke2fs 1.42.12 (29-Aug-2014)
/dev/sda1 contains a ntfs file system labelled 'System-reserviert'
Proceed anyway? (y,n) y
Creating filesystem with 244190390 4k blocks and 61054976 inodes
Filesystem UUID: 1b904531-b9db-42f4-bf4f-681b5ce8fc50
Superblock backups stored on blocks:
32768, 98304, 163840, 229376, 294912, 819200, 884736, 1605632, 2654208,
4096000, 7962624, 11239424, 20480000, 23887872, 71663616, 78675968,
102400000, 214990848
Allocating group tables: done
Writing inode tables: done
Creating journal (32768 blocks): done
Writing superblocks and filesystem accounting information: done
Die Festplatte mounten.
mount /dev/sda1 /mnt/
Dann mal eben nachschauen.
root@bpi-iot-ros-ai:~# df -h
Filesystem Size Used Avail Use% Mounted on
/dev/root 15G 5.5G 8.0G 41% /
devtmpfs 879M 4.0K 879M 1% /dev
tmpfs 1007M 0 1007M 0% /dev/shm
tmpfs 1007M 8.7M 998M 1% /run
tmpfs 5.0M 4.0K 5.0M 1% /run/lock
tmpfs 1007M 0 1007M 0% /sys/fs/cgroup
tmpfs 1007M 136K 1007M 1% /tmp
tmpfs 202M 0 202M 0% /run/user/0
/dev/sda1 917G 72M 871G 1% /mnt
Der letzte Eintrag /mnt ist die Festplatte. Sieht alles gut aus.
Dazu nehmen wir folgenden Befehl
rsync -ax / /mnt/
Wenn alles fertig kopiert ist, unmounten wir die HDD und mounten die SD-Karte um die Bootparameter zu ändern.
umount /mnt/
Mein Test-Image:
debian-8-jessie-lite-preview-bpi-m2u.img 2016-09-27
Link -> https://bananapi.gitbooks.io/bpi-m2-ultra/content/linuxsoftware.html
Auf der SD-Karte sind zwei Partitionen. BOOT und ROOT. Die BOOT-Partition mounten wir jetzt.
mount /dev/mmcblk0p1 /mnt
cd /mnt
cd bananapi/bpi-m2u/linux
Dort finden wir nun die Datei uEnv.txt. Diese wollen wir bearbeiten.
nano uEnv.txt
Inhalt der uEnv.txt
bpi=bananapi
board=bpi-m2u
chip=r40
service=linux
kernel=uImage
#
#
ahello=echo Banaan Pi ${board} chip: $chip Service: $service
aboot=if fatload $device $partition 0x45000000 ${bpi}/berryboot.img; then bootm 0x48000000 0x45000000 ; else bootm 0x48000000; fi
aload_kernel=fatload $device $partition 0x48000000 ${bpi}/${board}/${service}/${kernel}
uenvcmd=run ahello aload_kernel aboot
#
# from sys_config.fex
#
#;output_type (0:none; 1:lcd; 2:tv; 3:hdmi; 4:vga)
#;output_mode (used for tv/hdmi output, 0:480i 1:576i 2:480p 3:576p 4:720p50 5:720p60 6:1080i50 7:1080i60 8:1080p24 9:1080p50 10:1080p60 11:pal 14:ntsc)
#
# ref. sys_config.fex, use default script.bin
#bootargs=enforcing=1 earlyprintk=sunxi-uart,0x01c28000 initcall_debug=1 console=ttyS0,115200 console=tty1 board=bpi-m2u loglevel=8 root=/dev/mmcblk0p2 rw rootwait init=/init cma=256M bootmenutimeout=10 datadev=mmcblk0p2
bootargs=enforcing=1 initcall_debug=0 console=ttyS0,115200n8 console=tty1 no_console_suspend board=bpi-m2u loglevel=4 root=/dev/mmcblk0p2 rw rootwait init=/init cma=256M panic=10 consoleblank=0 bootmenutimeout=10 datadev=mmcblk0p2
# output HDMI 1080P (type:3 mode:10)
#bootargs=enforcing=1 initcall_debug=0 console=ttyS0,115200n8 console=tty1 no_console_suspend board=bpi-m2u loglevel=4 root=/dev/mmcblk0p2 rw rootwait init=/init cma=256M panic=10 consoleblank=0 bootmenutimeout=10 datadev=mmcblk0p2 disp.screen0_output_type=3 disp.screen0_output_mode=10 disp.screen1_output_type=3 disp.screen1_output_mode=10
# output HDMI 720P (type:3 mode:5)
#bootargs=enforcing=1 initcall_debug=0 console=ttyS0,115200n8 console=tty1 no_console_suspend board=bpi-m2u loglevel=4 root=/dev/mmcblk0p2 rw rootwait init=/init cma=256M panic=10 consoleblank=0 bootmenutimeout=10 datadev=mmcblk0p2 disp.screen0_output_type=3 disp.screen0_output_mode=5 disp.screen1_output_type=3 disp.screen1_output_mode=5
# output HDMI 480P (type:3 mode:2)
#bootargs=enforcing=1 initcall_debug=0 console=ttyS0,115200n8 console=tty1 no_console_suspend board=bpi-m2u loglevel=4 root=/dev/mmcblk0p2 rw rootwait init=/init cma=256M panic=10 consoleblank=0 bootmenutimeout=10 datadev=mmcblk0p2 disp.screen0_output_type=3 disp.screen0_output_mode=2 disp.screen1_output_type=3 disp.screen1_output_mode=2
Uns interessiert nur diese Zeile:
bootargs=enforcing=1 initcall_debug=0 console=ttyS0,115200n8 console=tty1 no_console_suspend board=bpi-m2u loglevel=4 root=/dev/mmcblk0p2 rw rootwait init=/init cma=256M panic=10 consoleblank=0 bootmenutimeout=10 datadev=mmcblk0p2
Hier kann man jetzt sehen, das beim Booten von SD-Karte die Rootpartition mmcblk0p2 aufgerufen wird. Das ändern wir nun.
bootargs=enforcing=1 initcall_debug=0 console=ttyS0,115200n8 console=tty1 no_console_suspend board=bpi-m2u loglevel=4 root=/dev/sda1 rw rootwait init=/init cma=256M panic=10 consoleblank=0 bootmenutimeout=10 datadev=sda1
Die geänderte Datei speichern. Danach starten wir den Ultra neu.
shutdown -r now
Wenn wir uns wieder eingeloggt haben, schauen wir nach ob alles richtig ist.
df -h
Ergebnis:
root@bpi-iot-ros-ai:~# df -h
Filesystem Size Used Avail Use% Mounted on
/dev/root 917G 5.6G 865G 1% /
devtmpfs 879M 0 879M 0% /dev
tmpfs 1007M 0 1007M 0% /dev/shm
tmpfs 1007M 8.7M 998M 1% /run
tmpfs 5.0M 4.0K 5.0M 1% /run/lock
tmpfs 1007M 0 1007M 0% /sys/fs/cgroup
tmpfs 1007M 136K 1007M 1% /tmp
tmpfs 202M 0 202M 0% /run/user/0
Alles perfekt. Die HDD ist jetzt das System. Wenn man nun das mit dem eMMC hinbekäme (BPi M2-Ultra - eMMC nutzen), könnte man ohne SD-Karte das System booten. Das System würde dann im eMMC liegen.
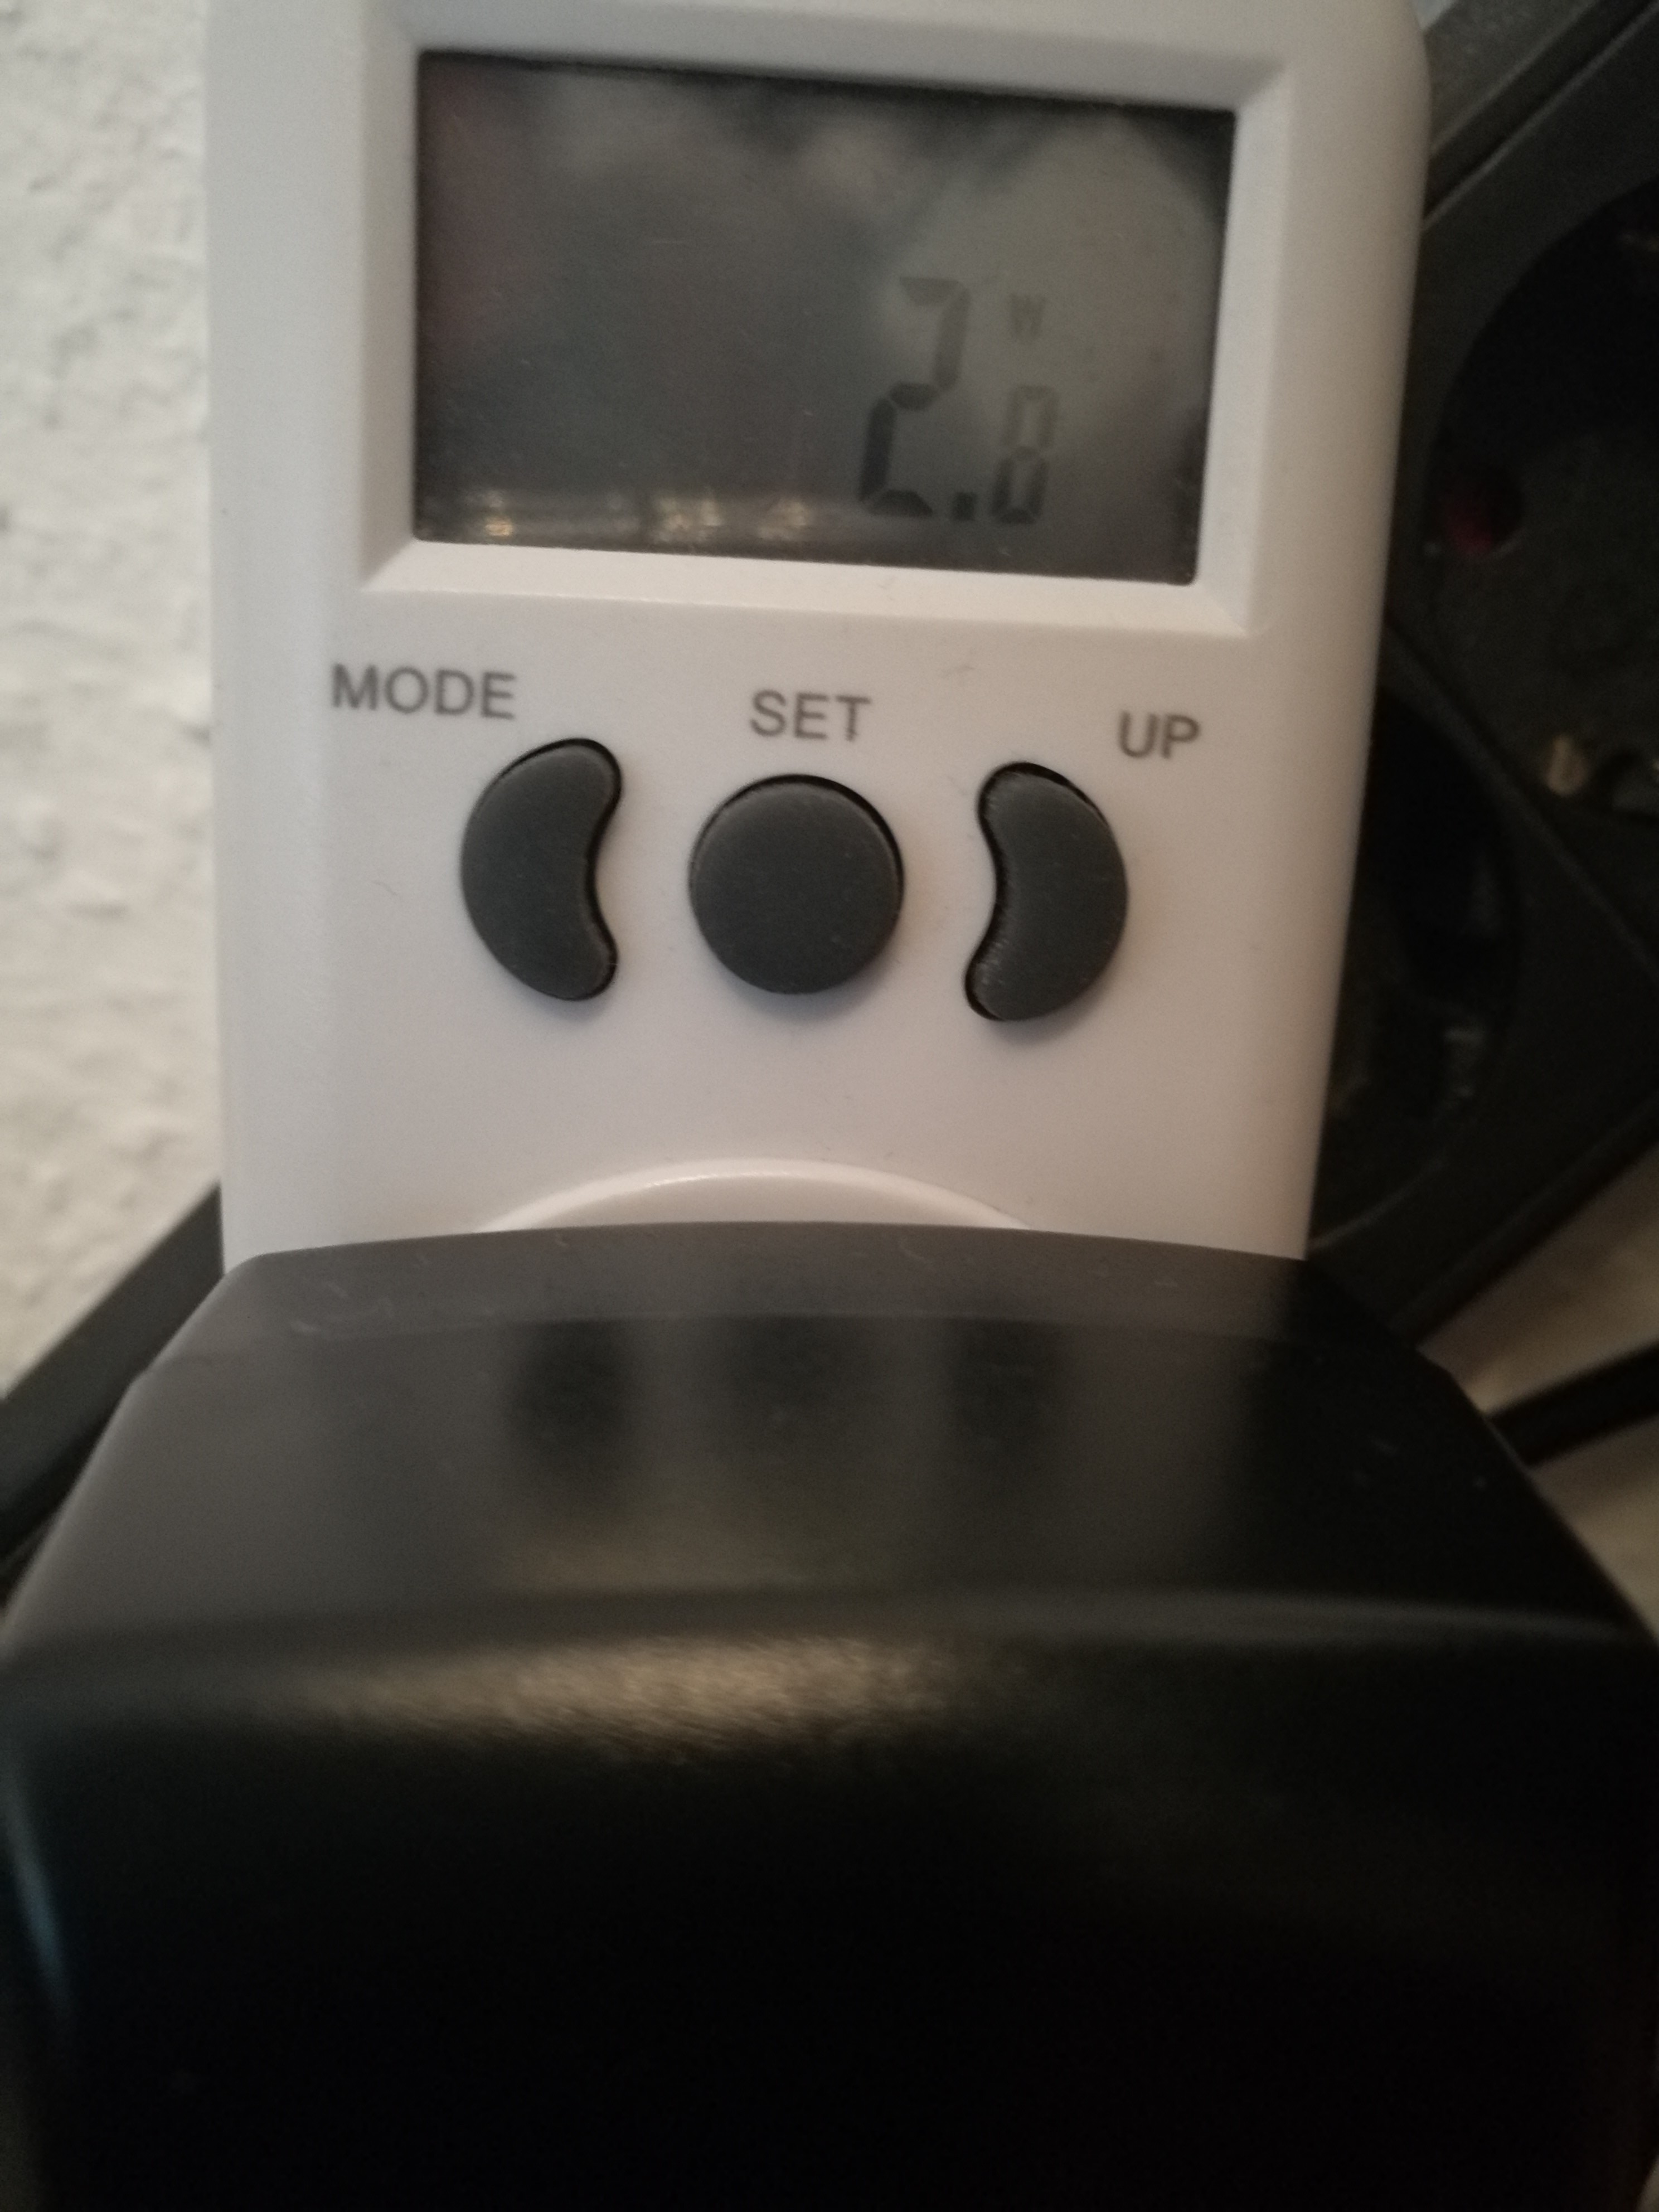
Schnell noch die Geschwindigkeit der Platte checken.
dd if=/dev/zero of=tempfile bs=1M count=1024 conv=fdatasync,notrunc
Ergebnis:
root@bpi-iot-ros-ai:~# dd if=/dev/zero of=tempfile bs=1M count=1024 conv=fdatasync,notrunc
1024+0 records in
1024+0 records out
1073741824 bytes (1.1 GB) copied, 29.7855 s, 36.0 MB/s
Das Ergebnis ist ähnlich wie auf einem BananaPi mit Bananian-Betriebssystem. (Bananian auf HDD installieren) Damit haben wir dann einen schönen Nachfolger vom BananaPi M1, wenn wir denn dann auch vernünftige Images bekommen, mit halbwegs aktuellen Linuxversionen.